How To Install WordPress on Dreamhost with One-Click Install
If you are a newbie on WordPress and want to Start a Blog on WordPress. You might probably be looking for affordable web hosting, you should use first Dreamhost. I have set up my blog on Bluehost which was very expensive for me when I was a newbie, but you can setup your WordPress on Dreamhost first and after you learn everything, your blog starts getting traffic, you can migrate from Dreamhost to another server or use the same if you like their service. I have read and head lots of positive review about Dreamhost customers service and they are also good enough to help you for your blog. Before, we move ahead, Here is the reason why you should use Dreamhost.
- It’s compatible with Latest WordPress
- It’s cheap & affordable web hosting
- Offer free domain
Related : Dreamhost Review & $97 Discount Code
You will get Unlimited web space and unlimited bandwidth, your custom C Panel DreamHost account. Use Dreamhost Coupon code to get $97 Discount for one year, so get $119 plan at only $22 per year.Additionally, you will get free who.is guard for one year & One-Click Google apps Integration.
How to Install WordPress on Dreamhost
Once you have registered your Dreamhost account, now Login to your dreamhost webpanel. On the homepage click on One click installs.
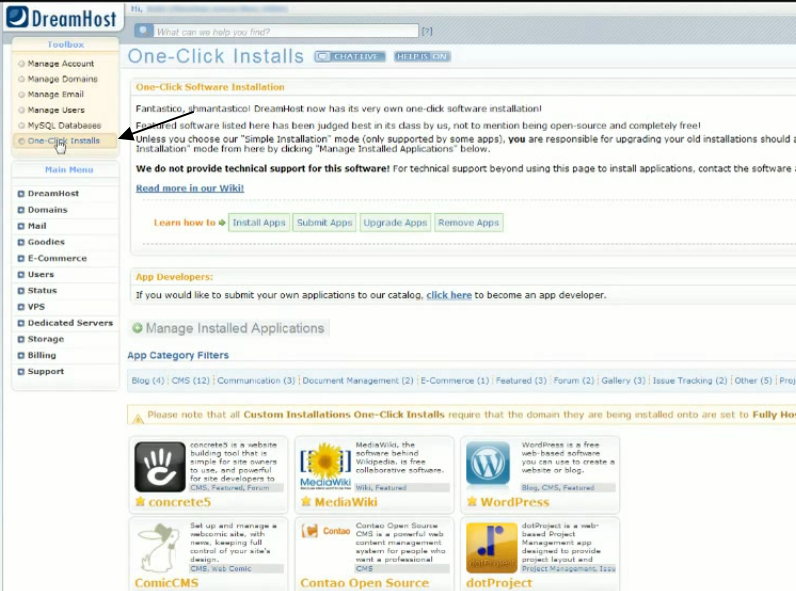
After that, you will see concrete5, MediaWiki, WordPress like options at the bottom of the page. Here in this post, I will explain How to Start WordPress Blog on Dreamhost ,so we have to go for WordPress. Click on WordPress and a new popup box will be opened with DreamHost One-Click Installs.
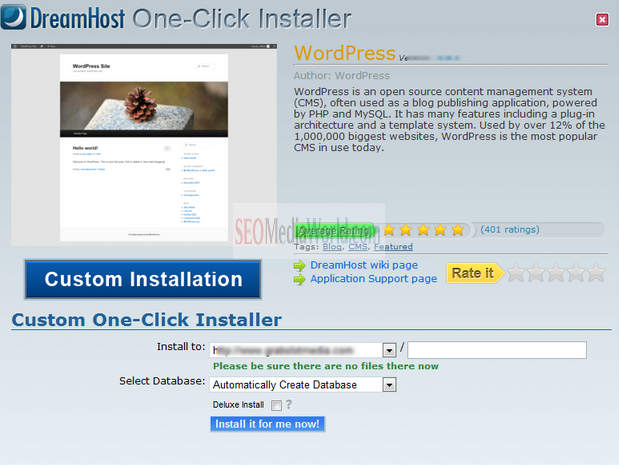
There will be two option there, custom installation and simple installation. Here we have to select custom installation. There will be an option, install to, select your domain on which you want to install if you want to add subdirectory like xyz.com/blog you can write folder name after that and your WordPress blog will be installed on that directory.Select automatically create database and press install it for me now! button.
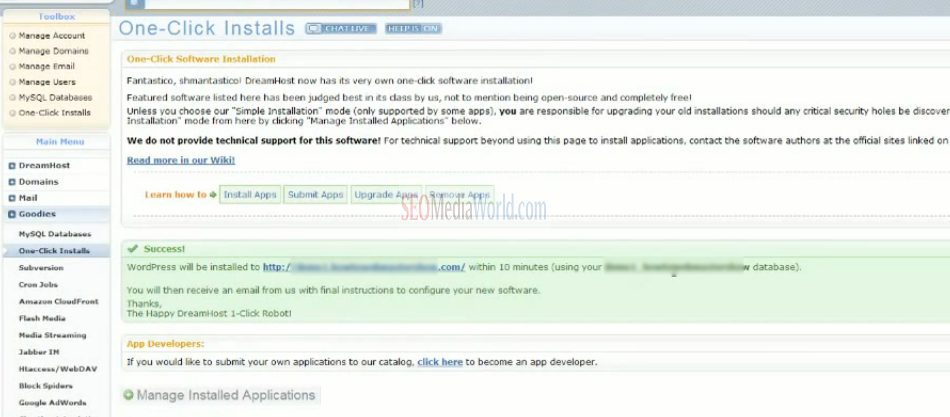
It will automatically install WordPress on your Dreamhost account on the selected domain. After some time you will receive an Email on your registered email address stating that Successfully installed WordPress on your account.
Now go to http://your domain.com/wp-admin/install.php page. You will see WordPress setup screen where you have to enter Site Title , your WP admin dashboard, password and your email address. When you click on Install WordPress, your WordPress blog will be configured and setup.
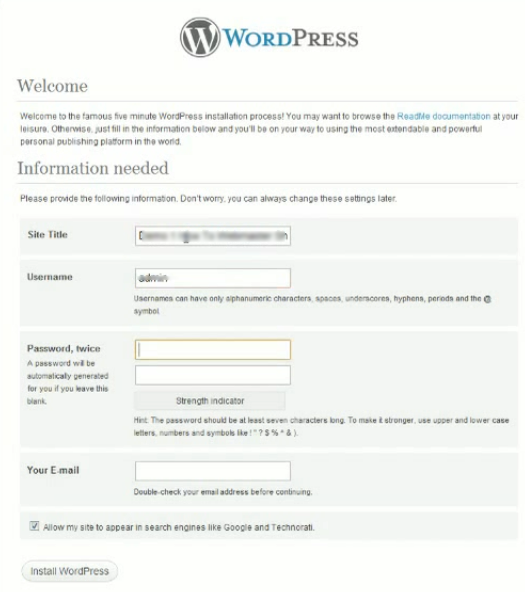
- Site Title will appear by default in the header area (you can always change it from WordPress dashboard)
- Default DreamHost Admin username will be an admin, but you should rename default username from admin to your name. This is harder to change later, though it can be done, so we really recommend changing it now.
- Choose a strong password. The username and password combination is your first line of defense against Internet Bad Guys, so both parts need to be strong.
- Enter your email address so WordPress can send you a confirmation email containing your username and password.
- If you’re just starting your first site, we recommend Unchecking the “Allow my site to appear in search engines…” checkbox. You can easily let search engines back in once your site is ready for prime time.
- Click “Install WordPress.”
- You should see a success message
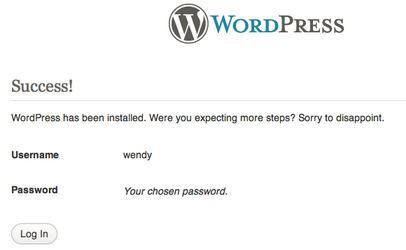 You will see a success message, and you can always login to your WordPress blog from http:// your blogname.com/wp-admin URL. If still need help, feel free to hire WordPress experts to install WordPress and optimize your blog for SEO. Use seomediaworld contact form to get in touch with me. See also : Essential Plugins after installing WordPress Blog Also read: Essential settings after installing WordPress